This part of the process is arguably the most important one, and (my lack of using it previously) is the reason I found myself in the position of having to re-do the Endo Skull after the silver paint ended up turning tacky. The primer serves a few purposes, but the main one is to create a barrier between the vinyl and the top coats of paint you apply (so that the vinyl can't react with the silver paint, as it did previously). I bought a 400ml can of some very affordable ACRYLIC car primer (just a couple of £). It's easy to apply, but BEWARE - it leaves a fine layer of dust over every surface in the room you're spraying (something I learnt only afterwards, much to my horror - don't make the same mistake as me!).
The below photos show the individual parts after they'd been sprayed. The final step in the process, and the second benefit of the primer, is that it helps fill in tiny defects and enables you to also to create a silky smooth finish to all of the parts. You do this by carefully sanding everything down with very fine sandpaper; it leaves an amazingly smooth finish, and is a perfect surface for the next layer of paint.


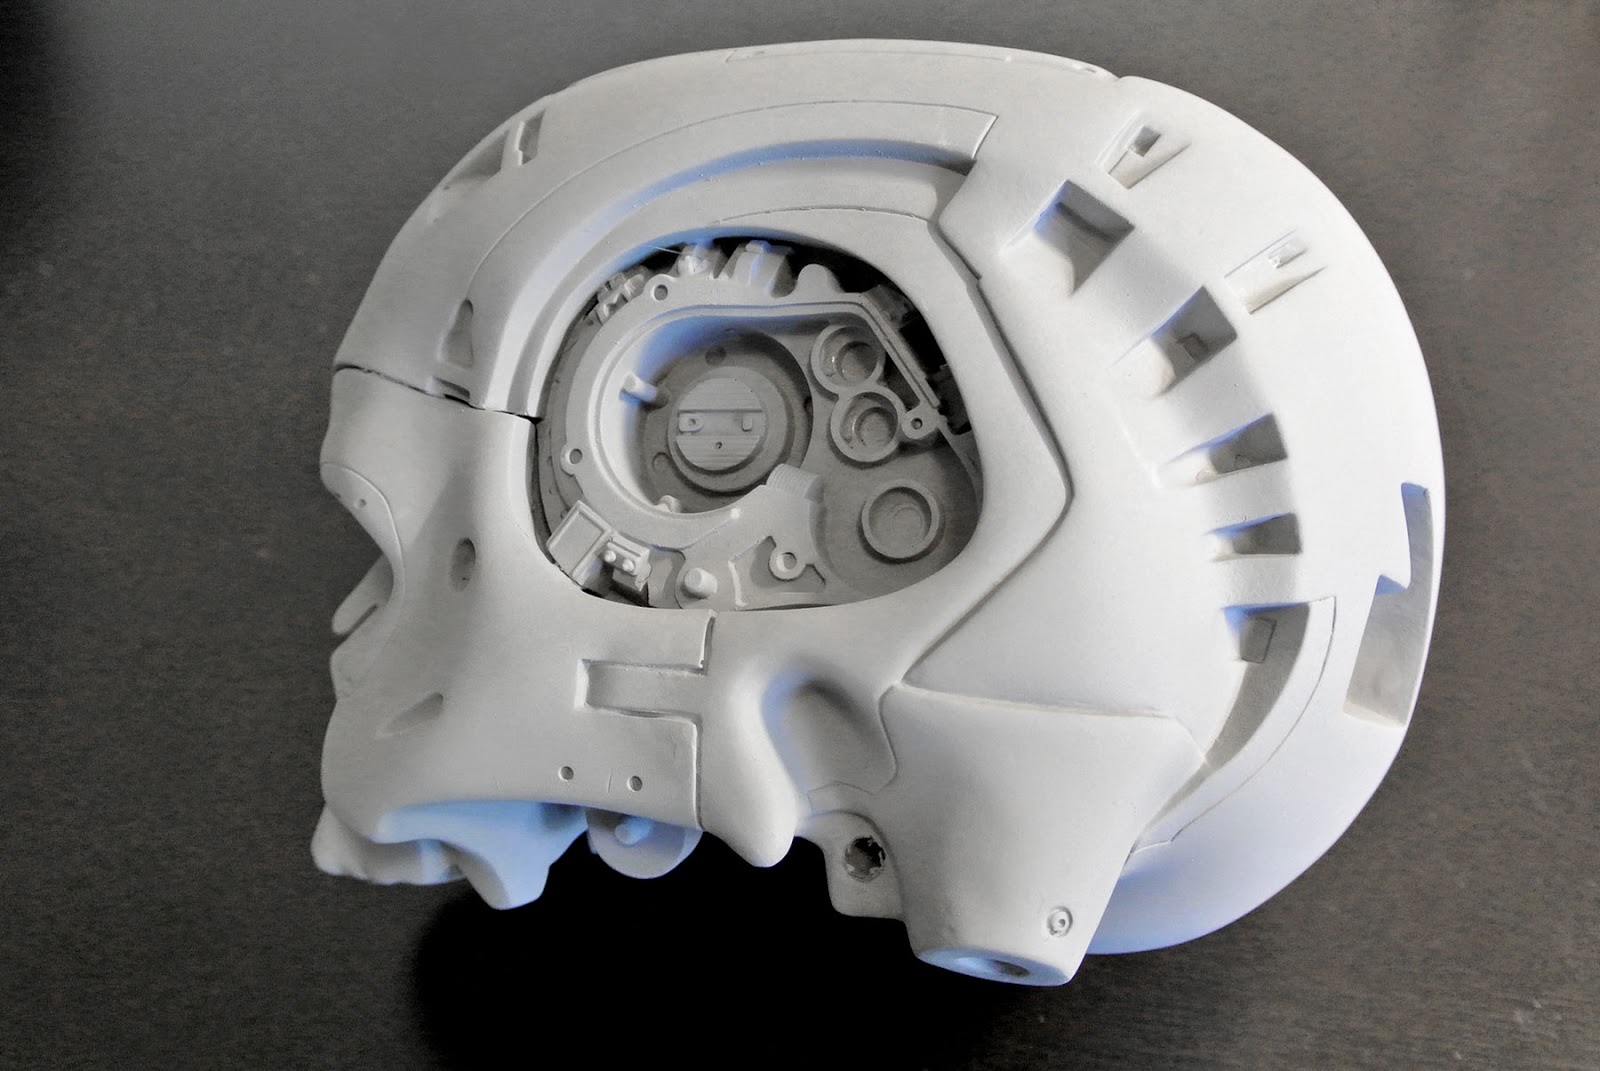


The below photos show the individual parts after they'd been sprayed. The final step in the process, and the second benefit of the primer, is that it helps fill in tiny defects and enables you to also to create a silky smooth finish to all of the parts. You do this by carefully sanding everything down with very fine sandpaper; it leaves an amazingly smooth finish, and is a perfect surface for the next layer of paint.
Both the vinyl and metal pieces were coated with a layer of car primer for the paint to adhere to
Hello, could you tell me where I find this skull kit terminator?
ReplyDeleteThey're on eBay. Search for "Terminator Head with Base Vinyl Model Kit"
Delete